-
序
- 入门篇
- Lua 入门
-
Nginx
-
Nginx 新手起步
-
location 匹配规则
-
静态文件服务
-
日志
-
反向代理
-
负载均衡
-
陷阱和常见错误
- 环境搭建
-
Hello World
-
与其他 location 配合
-
获取 uri 参数
-
获取请求 body
-
输出响应体
-
日志输出
-
简单API Server框架
-
使用 Nginx 内置绑定变量
-
子查询
-
不同阶段共享变量
-
防止 SQL 注入
-
如何发起新 HTTP 请求
-
访问有授权验证的 Redis
-
select+set_keepalive 组合操作引起的数据读写错误
-
redis 接口的二次封装(简化建连、拆连等细节)
-
redis 接口的二次封装(发布订阅)
-
pipeline 压缩请求数量
-
script 压缩复杂请求
-
动态生成的 lua-resty-redis 模块方法
-
Nginx 新手起步
- LuaCjsonLibrary
- PostgresNginxModule
- LuaNginxModule
- LuaRestyDNSLibrary
- LuaRestyLock
- 测试
- Web 服务
- 火焰图
HelloWorld
HelloWorld 是我们亘古不变的第一个入门程序。但是 OpenResty 不是一门编程语言,跟其他编程语言的 HelloWorld 不一样,让我们看看都有哪些不一样吧。
创建工作目录
OpenResty 安装之后就有配置文件及相关的目录的,为了工作目录与安装目录互不干扰,并顺便学下简单的配置文件编写,我们另外创建一个 OpenResty 的工作目录来练习,并且另写一个配置文件。我选择在当前用户目录下创建 openresty-test 目录,并在该目录下创建 logs 和 conf 子目录分别用于存放日志和配置文件。
$ mkdir ~/openresty-test ~/openresty-test/logs/ ~/openresty-test/conf/
$
$ tree ~/openresty-test
/Users/yuansheng/openresty-test
├── conf
└── logs

2 directories, 0 files
copy
copy创建配置文件
在 conf 目录下创建一个文本文件作为配置文件,命名为 nginx.conf,文件内容如下:
worker_processes  1;        #nginx worker 数量
error_log logs/error.log;   #指定错误日志文件路径
events {
    worker_connections 1024;
}

http {
    server {
        #监听端口,若你的6699端口已经被占用,则需要修改
        listen 6699;
        location / {
            default_type text/html;

            content_by_lua_block {
                ngx.say("HelloWorld")
            }
        }
    }
}
copy
提示:如果你安装的是 openresty 1.9.3.1 及以下版本,请使用 content_by_lua 命令代替示例中的 content_by_lua_block。可使用 nginx -V 命令查看版本号。
万事俱备只欠东风
我们启动 Nginx 即可,输入命令形式为:nginx -p ~/openresty-test,如果没有提示错误。如果提示 nginx 不存在,则需要在环境变量中加入安装路径,可以根据你的操作平台,参考前面的安装章节(一般需要重启生效)。
启动成功后,我们可以查看 nginx 进程是否存在,并通过访问 HTTP 页面查看应答内容。操作提示如下:
➜ ~ nginx -p ~/openresty-test ➜ ~ ps -ef | grep nginx 501 88620 1 0 10:58AM ?? 0:00.00 nginx: master process nginx -p /Users/yuansheng/openresty-test 501 88622 88620 0 10:58AM ?? 0:00.00 nginx: worker process ➜ ~ curl http://localhost:6699 -i HTTP/1.1 200 OK Server: openresty/1.9.7.3 Date: Sun, 20 Mar 2016 03:01:35 GMT Content-Type: text/html Transfer-Encoding: chunked Connection: keep-alive HelloWorld
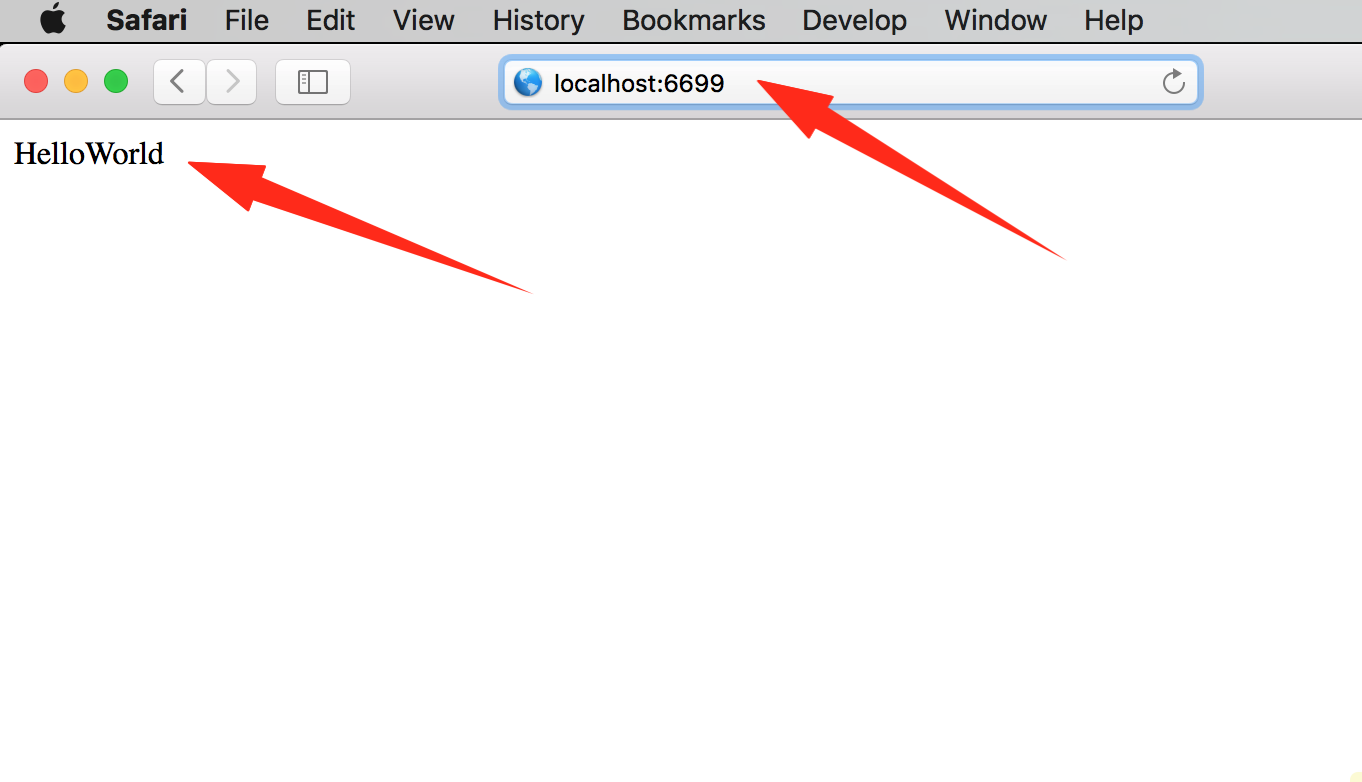
在浏览器中完成同样的访问: